Installing shiplap into your walls can make them look bright and lively. Shiplap was used in building ships back in the day, hence the name. It can be installed into house walls now. However, can it be installed in the bathroom?
The answer is no. Shiplap is not waterproof. Since it is wood, it can easily be damaged by exposure to water or wet surfaces. However, a layer of paint can prevent it from water damage.
Is Shiplap Waterproof?
No, shiplap is not waterproof because it is made of wood. Wood is a material that can be damaged if left exposed to water. However, this can be prevented by a layer of paint over the shiplap boards.
How to Install Shiplap
You might be wondering, how is shiplap even installed? Well, we’ve got the answer you’re looking for!
1. Measure the Wall
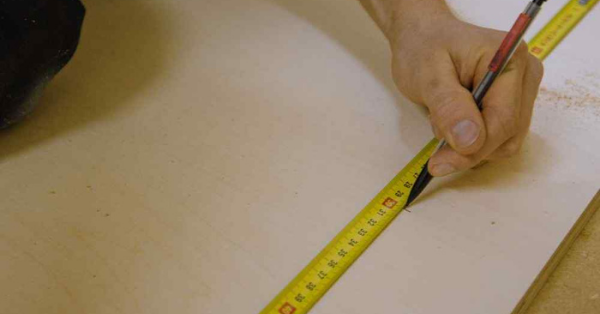
Before you get to installing the shiplap boards into your walls, you need to make sure you take accurate measurements of your wall. These will include the width and length of your wall.
Grab a tape measure and get to measuring the width and height of your walls. Note it down and get the right size of shiplap boards for your walls.
PRO-TIP
ALWAYS GET A BIT OF EXTRA WOOD TO MAKE SURE YOU’RE COVERED
2. Clear the Wall

Now that you’ve measured your walls, it is time to clear them. You need to take any pictures or paintings off your walls. Take out any nails as well to prevent damage to your shiplap boards.
Doing this will prevent any future complications to your walls and help you save money on repairing charges.
3. Cut the Boards
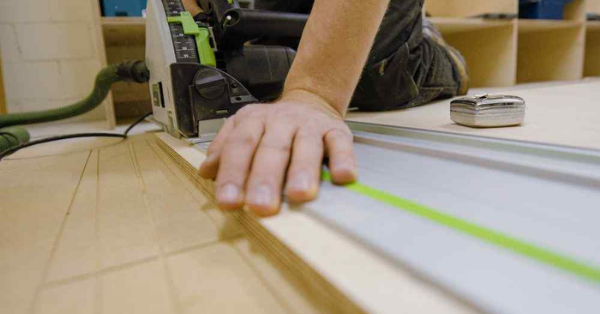
One of the most important steps that should be carried out carefully is cutting the plywood boards. The width of each board is up to you to decide. Keep the length of each board the same.
Place your plywood on a table saw and cut as many strips as needed. Be careful with the position of the boards when cutting out the strips. Have another person hold down the boards if need be.
4. Installing into the Walls
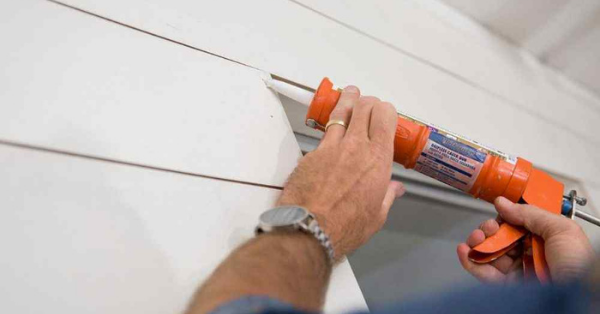
Now that your boards are all cut up and ready, it is time to nail them into the walls. For this step, you will need to start covering your wall from the bottom. Make sure each board fits the edges of the wall.
You will need to make sure the plywood boards are lined up straight on top of each other. Have another person keep watch of the alignment and position of each board as you place them. Keep stacking the pieces on top of one another until they reach the ceiling.
Nail each piece into the wall with a hammer. You might need to use longer nails if you chose thick pieces of wood.
5. Final Touches
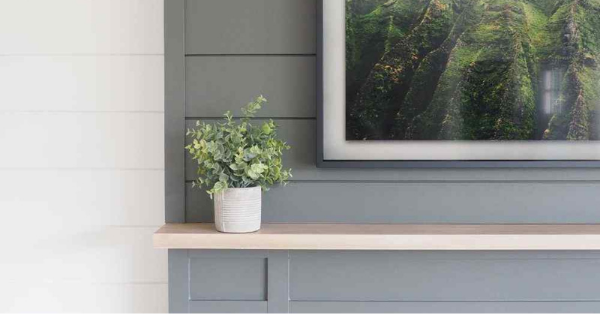
After installing, you will need to paint the left-out edges of the plywood. This process needs to be carried out with a steady hand. Have someone help you out with finishing up the shiplap boards.
If you notice any left out piece of wood, use a saw to cut it to give it a neat look.
Tips for Installing Shiplap in a Bathroom
If you plan on installing shiplap into your bathroom walls, we have some helpful tips for you!
1. A Waterproof Layer
Make a waterproof layer for your shiplap. This is a very important step that will ensure your wood does not get damaged. Mildew-resistant paint also does the trick. This type of coating can block the access of water.
You will need to make sure your bathroom stays ventilated. This will prevent any mildew from growing on your wood.
PRO-TIP
APPLY A LAYER OF WOOD SEALANT ON THE EDGES OF YOUR SHIPLAP
2. Mark your Boards
Before nailing your boards into the wall, mark each piece to make sure each one goes in its right place. Doing this will save you a lot of time.
Use a pen to mark each board from the back and hang the boards in the correct order.
3. Sand the Boards
Sanding your boards will ensure a clean look by the time you’re done with hanging the shiplap. Use sandpaper and remove any dust left on the boards. Wear eye protection to keep dust away from your eyes.
You might not need to do this if your shiplap came pre-sanded.
WARNING!
DO NOT APPLY TOO MUCH PRESSURE ON YOUR WOODEN BOARDS WHEN USING SANDPAPER! DOING SO CAN DAMAGE THE SURFACE
Conclusion
We have discussed whether or not shiplap is waterproof. The simple answer is no. Shiplap is prone to getting damaged by exposure to water just like any wood. However, a layer of paint can help prevent this.
If you enjoyed reading about shiplap, you might be interested to look into the 4 ways to finish shiplap corners.
4 Ways to Finish Shiplap Corners. Perfect Finish!
Are you looking for ways to finish your shiplap corners? You’ve come to the right place!

