Think about it… we are always using our vacuum cleaners to do our house cleaning and when we’re done we put them back where we store it, right?
How many times do you use your vacuum cleaner during the week? Once or twice for sure! But there’s one thing we’re missing out…
Vacuum cleaners also need to be cleaned, if you want them to work to their full potential!
Depending on how often we use our vacuums, we’ll have to clean them sooner or later. But in the end, all of them (bagless, canister, stick, etc…) need to be cleaned to function properly.
No wonder they start malfunctioning. If we drag them all around the house cleaning all the dirt and dust we leave behind and don’t try to maintain them and keep them in good conditions, we’ll most probably start to see a downgrade in their performance.
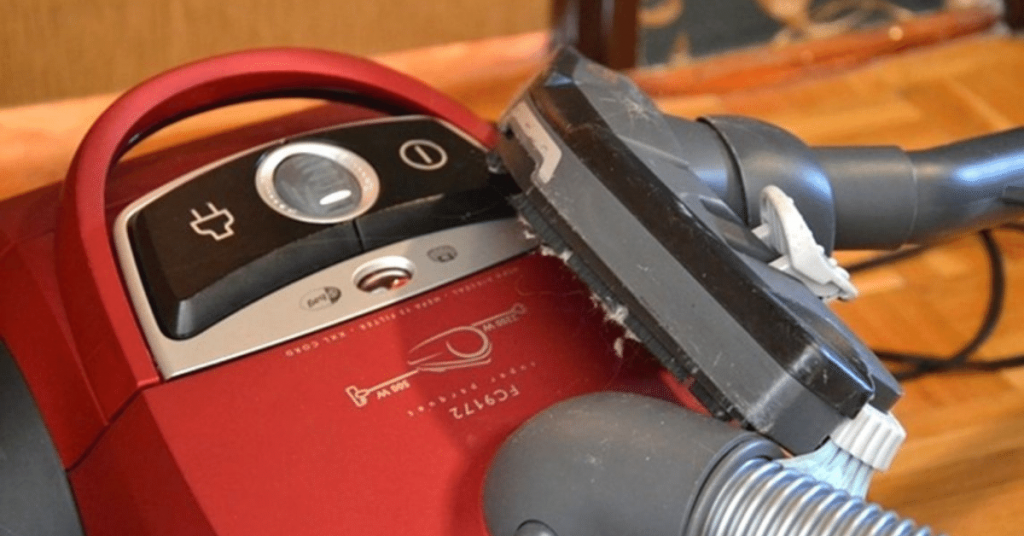
Even modern vacuum cleaners which claim to suffer no loss of suction and performance! Well, if you read their warranty, you’ll see that keeping it clean is the key. No modern pieces or magic tricks…
A maintained vacuum will maintain good suction and performance.
It’s that simple!
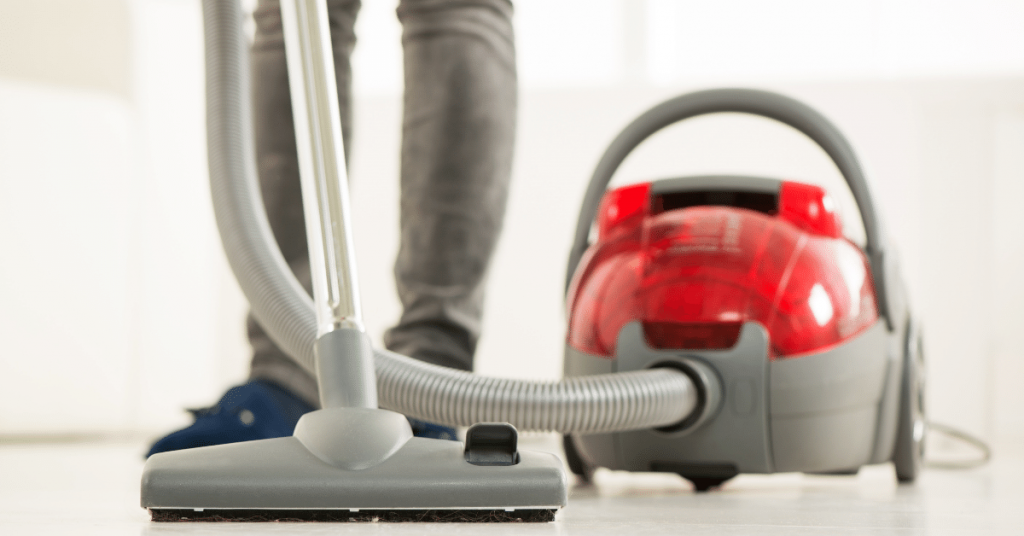
How NOT to use the vacuum cleaner. 9 Mistakes we all make!
Many carpet owners think they know how to use the vacuum cleaner. But are they using it right? These 9 mistakes are more common than you might think!
Diagnosis: 2 most common issues
Now, before we get into the cleaning part, we must address what’s causing the problem on your vacuum.
You just need to run a simple test for 2 things:
1. Bad Smells and Odors
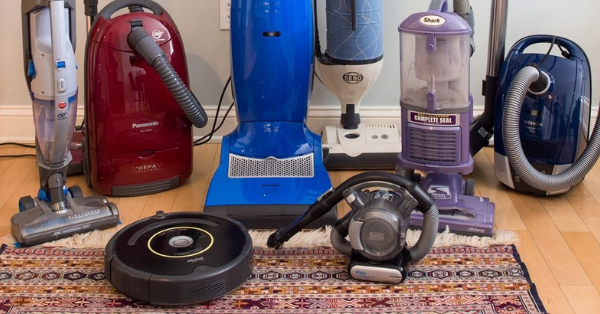
Vacuum cleaners can start to smell after some time, especially if you live with pets. So, bad smells in your vacuum can be caused by one of the following things I’ll detail below.
Once you have detected which one is causing your vacuum to smell, address it with a thorough clean.
– Jammed rolling brush: the rolling brush can get clogged with lots of debris, making it difficult to work and turn correctly. This will cause the drive belt to heat up and end up releasing a smell of burned rubber.
– Full dust canister or bag: this one is the most common one and the most forgotten one… A bag full of dirt and dust can only lead to bad smells if you let it sit there without emptying it.
– Dirty filters: filters with lost of dirt on them will stop trapping all they should and start to smell due to all the dust trapped in them.
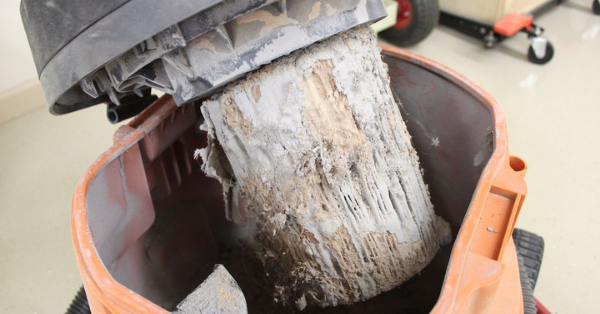
– Obstructed exhaust vent: the vacuum cleaner needs to let out the air from inside the machine for the suction to work correctly. But it the exhaust vent is blocked or obstructed in some way, then it will start to smell.
2. Bad suction or no suction at all
The most common cause for loss of suction is blockages. And the consequences of bad suction are:
– It makes the vacuum much slower and inefficient when suctioning.
– It makes it easier for the vacuum to overheat due to the extra work it has to do to be able to pick up the dirt and dust.
So, watch out for the following:
– Clogged intake port: it is in the same location as the rolling brush. Therefore, if the rolling brush is jammed, then most likely the intake port will be too. Especially if you have pets at home that lose a lot of debris.
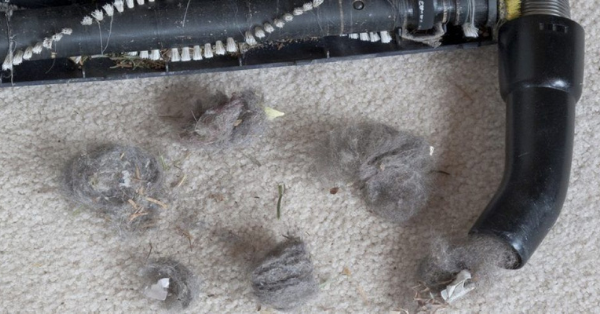
– Filters: their function is to trap pollutants, debris and dust, cleaning the air that goes through, but if they’re clogged they start to malfunction, not letting the air pass through correctly. Therefore, losing suction power.
– Full bag or canister: if this is the case, then there’s no room for more dirt and debris to suck in. This will make the vacuum lose suction power and performance.
– Fan problems: an operational fan is what allows the vacuum to have suction power. So if it stops working, then the vacuum itself will stop functioning too.
There might be more reasons why your vacuum could be having problems but these two lists are the main ones and most common.
All of the above causes and problems should be easy to solve. But the best way to avoid them is to keep your vacuum cleaner clean at all times.
General Maintenance
Now that you know what may be causing a problem in your vacuum cleaner, you can address it correctly and clean the targeted areas with more precision.
We’ll cover all the possible actions you can go through to keep your vacuum cleaner as if it was brand new!
– Inspection before use
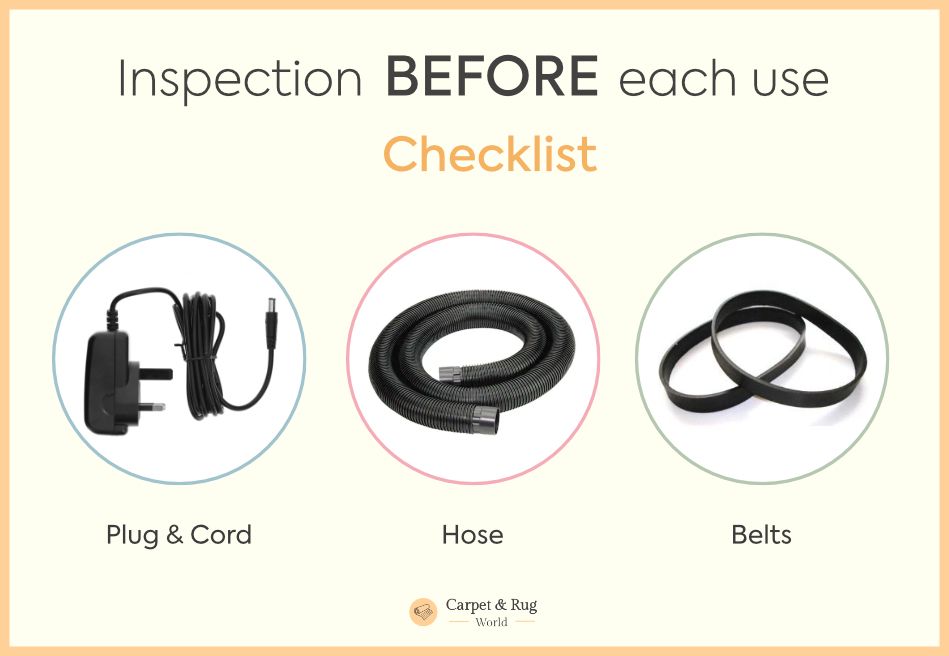
You may think this part is unnecessary but let me tell you… if you try to use your vacuum cleaner and something is wrong with one of the following things we’re about to tell you, then you’ll most probably end up with a broken vacuum cleaner or at least reduce its useful life.
So I deeply encourage you to take just 5 minutes before each time you want to use your vacuum and check the following things:
1. Plug and cord
Check that the cords are not frayed, loose or broken. Especially if you have pets who love to chew things! And before plugging it, make sure everything is straightened up.
2. Hoses
Look out for any debris or tissues that might be clogging the hoses. This can cause the motor to overheat and stop functioning right.
3. Belts
Vacuum belts tend to stretch out over time. If this happens, it will stop working properly. So, a quick check every two weeks or so and replacing them when necessary will help you avoid problems.
– Inspection after use
These steps will help you leave the vacuum cleaner in the best conditions for the next use. Not to mention all the problems you’ll be preventing by doing so!
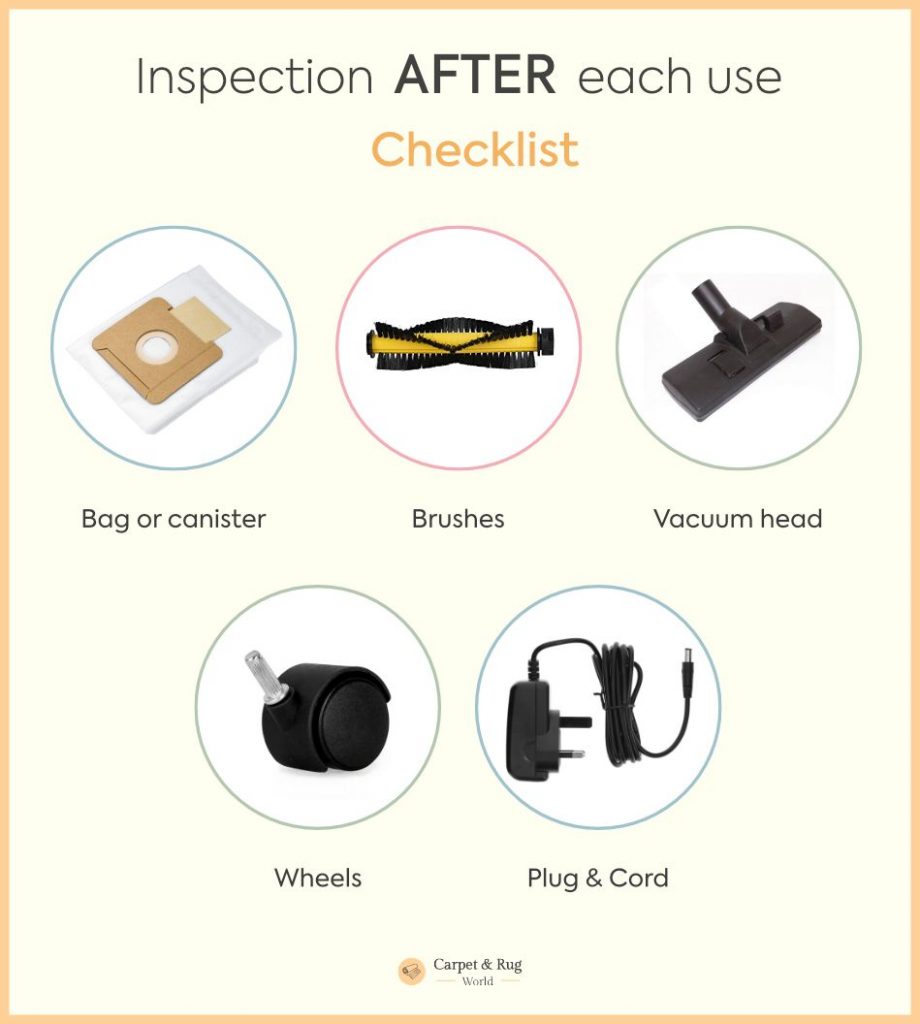
1. Empty the bag or canister: if your vacuum has a bag, replace it when it’s half full. If you have a canister, then I would recommend to empty it every time just to keep it clean and have it ready for the next time. It will prevent dust mites from growing inside the canister and avoid allergies.
2. Clean the brushes: all types of hair and debris get trapped into the brushes. But the main function of the brushes is to lift the dirt and dust from the floor and they won’t be able to do so if they are clogged with debris. They won’t spin and clean properly. So take out all the trapped debris around them and leave them clean for the next time.
3. Wipe the vacuum’s head: the area around the roller brush can also get a lot of dirt and dust stuck on it. So, I would recommend using a damp cloth to clean it thoroughly after you’ve unplugged the vacuum. This way you won’t lose suction power.
4. Clean the wheels: sometimes, the wheels of the vacuum cleaner can get stuff on them and start leaving tracks on your floors, rugs and carpets. And if what they’ve got stuck is big, they can cause the wheels to stop working correctly. So after every use, take a look a remove all the dirt and debris trapped on them.
5. Place the cord on a safe place: cords can get all messy and tangled if you leave them sitting on the floor, susceptible to any possible damage. Wrap it around the handle or make sure it wraps itself correctly if your vacuum has this option.
Steps to Deep Clean your Vacuum
All the steps mentioned before, as I said earlier, should help you maintain your vacuum cleaner in optimum conditions.
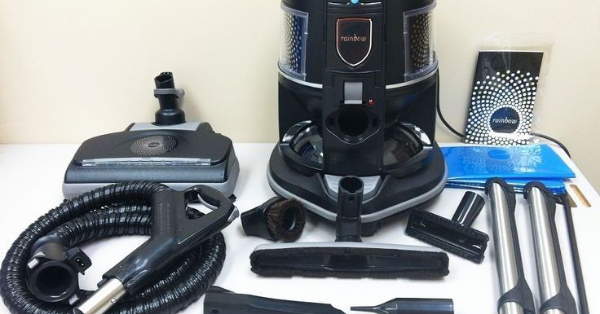
But once in a while, depending on how much you use your vacuum cleaner, you should try and do a deep clean, just to be safe.
Vacuum cleaners aren’t a cheap thing to buy, so all precautions are welcomed!
Tools you should use
To get that deep clean right you’ll need some tools, which I’ll detail for you in a moment, but most importantly, I recommend you do it on a clear and open space, use a cloth to place on the surface you’re going to do the cleaning (i.e the dining table or on the floor) to prevent scratches and marks.
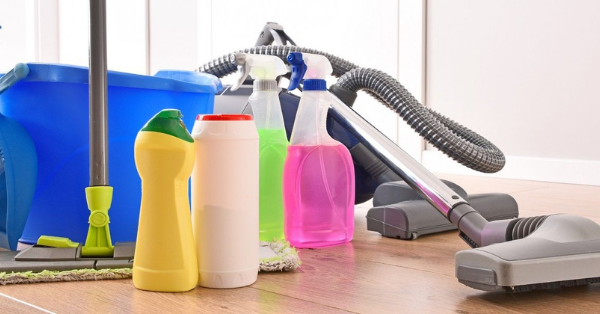
The tools you’ll need are the following (some of them aren’t completely necessary but might be of great help!):
– Brush: a small hand-held brush will be useful to clean all the dirt and dust stuck inside the canister.
– Toothbrush: it will come in handy for all those places you won’t be able to reach with the regular brush.
– Detergent: always use a non-abrasive one and the best one should have antimicrobial agents to help you clean all the dust mites and germs trapped in it.
– Scissors: they will help you cut those fibers tangled around the roller brush.
– Microfiber Cloth: better if it’s a microfiber cloth, as they are designed to trap the tiniest particles of dirt and dust, while a regular cloth isn’t.
– Compressed Air: it will come in handy if you need to remove stubborn blockages and clogged areas.
– Crosshead Screwdriver: sometimes, vacuum cleaners are attached with screws. So to separate some parts, you may need a crosshead screwdriver to do so.
– Bucket of warm water: it will be useful to place the dirty filter inside one you’ve removed them.
Step by Step
These 4 steps will cover the 4 main areas you should focus on when cleaning your vacuum cleaner: the rotating brush, the canister, the hose and the filters.
Step 1. Clean the canister or replace the bag
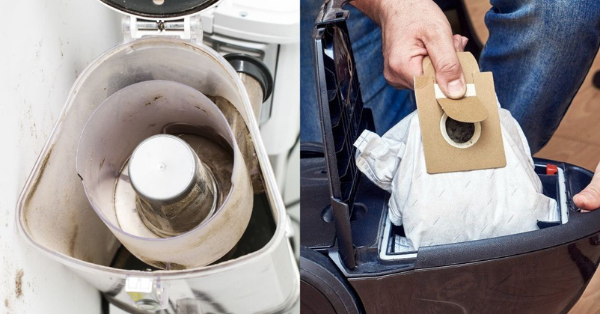
First thing you need to do is to empty the canister. If not, you’ll probably get dirt all around the vacuum and it could get damaged. To do so, you just have to detach the canister from the vacuum cleaner and tap it until you get all the dirt and debris to fall inside the bin.
But emptying the canister, even regularly, isn’t enough.
Dirt can still build up inside in the contours of the canister. Here is where the brush comes in handy. Use it to scrub the canister. Use the toothbrush to reach the most difficult areas.
Once it’s empty and you’ve removed everything with the brush, it’s time to give it a bath!
You have two options: you can either hand-wash it or place it in the dishwasher if you’re sure it’s safe to do so!
– Hand-wash: use a bucket full of warm soapy water to clean it. Use the non-abrasive detergent and make sure you dry it correctly afterwards.
– Dishwasher: it is an easier option if your vacuum manufacturer allows it. You just need to place the canister in the bottom rack. Make sure it fits correctly and doesn’t bump into the top rack (if so, you can probably remove the top rack!). Add your dishwasher detergent on the bottom of the dishwasher and choose the gentle or quick cycle. Once you hear it starts, let it run for 3 minutes or so and open it afterwards to check if the canister is already clean or not. If not, let it another minute but no more, as long exposure to hot water could damage the more delicate parts! Once it’s done, let it air-dry completely.
CAUTION!
Don’t place the canister back until you make sure it’s completely dry. If you place it while it’s still wet, you’ll have problems with the electrics and mold will probably appear sooner or later.
Step 2. Clean or replace the filters
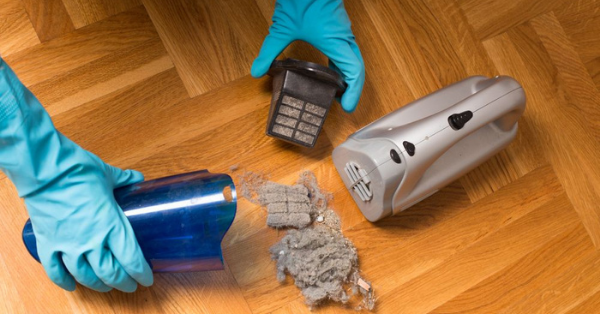
Depending on the type of vacuum cleaner you’ll have to replace the filters or you’ll be able to reuse them if cleaned and maintained properly.
– If you have washable foam or plastic filters, you can hand-wash them or put them in the dishwasher along with the canister. Just rinse them thoroughly to loosen up the dirt and dust before putting them inside the washer. Once you get it out, rinse them again to remove the remaining detergent they might have. Let them dry completely before placing them again in the vacuum cleaner.
– If you have a HEPA filter, most probably you won’t be able to reuse it as much if you want to keep the same efficiency.
CAUTION!
If you’re not sure whether you can wash or not your filters, check with the manufacturer’s instructions first, and act accordingly.
And if they’re washable, you will still have to replace them over time as they tend to perish.
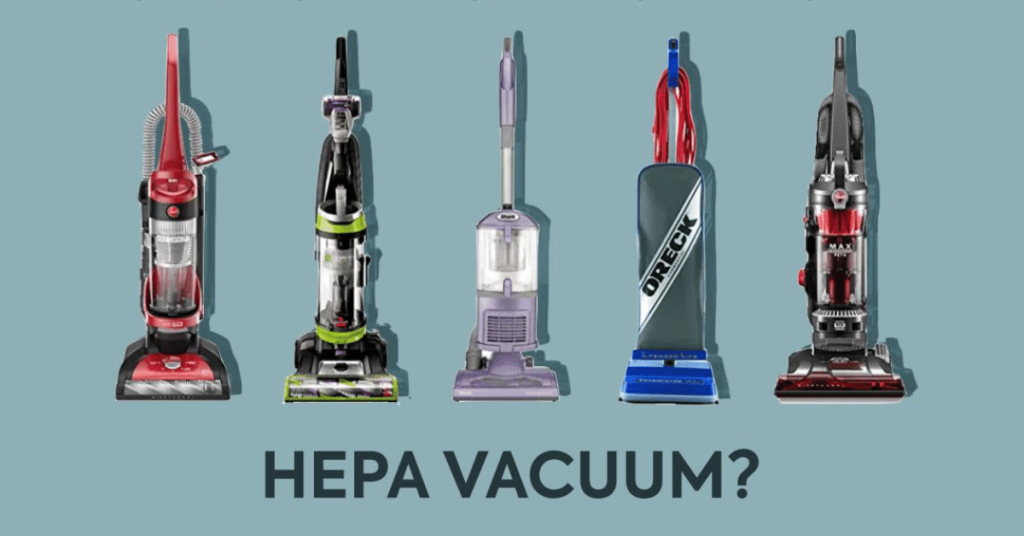
What is a Hepa Vacuum and Why Should You Care?
Cleaning rugs and carpets can be a tedious task… and you’ve probably heard that HEPA Vacuum cleaners work miracles. Read to find out if it’s tru or false!
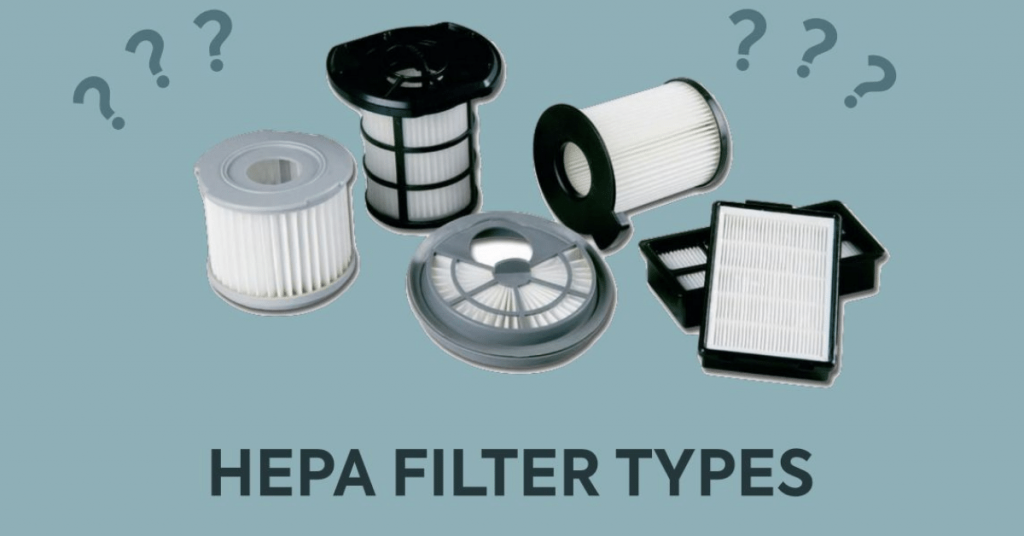
HEPA Filters Types. Everything you NEED to know!
You may think all HEPA filters are the same, but that’s totally wrong. Read this article before buying one to avoid being scammed!
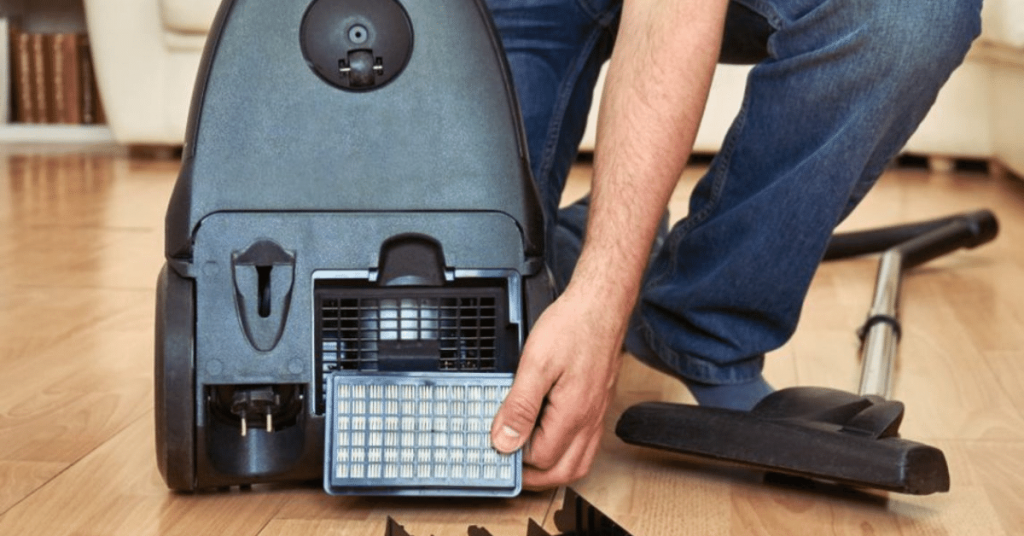
How to Clean a HEPA Filter. This is the Right (and Only) Way
You have a HEPA filter but don’t know if you have to clean it and how to clean it? Stop worrying and learn everything here!
Step 3. Clear the Hose
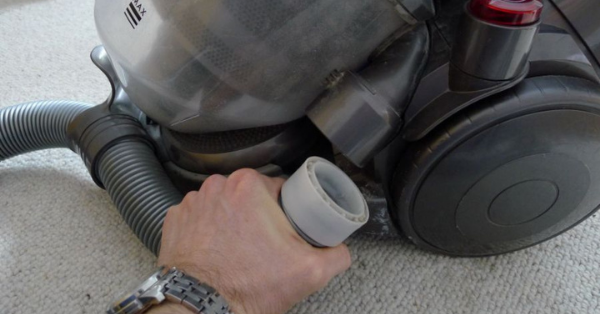
Vacuum hoses tend to have lots of nooks and small places where dirt and dust can get stuck and build up. If you don’t clean them regularly, you’ll probably end up with some kind of blockage.
You just have to remove the hose from the vacuum cleaner (see how it’s done in the user manual) and take it to the bathtub. This way you’ll be able to clean it without making a huge mess.
Run hot water through it and afterwards sprinkle half a cup of baking soda inside the end of the hose and shake it to coat the inside. Then pour some vinegar and let it sit until it stops fizzing.
Finally, rinse it well with hot water and let it dry completely before placing it back in the vacuum.
CAUTION!
If your hose is made from fabric check the manufacturer’s information before doing anything.
Step 4. Clean the roller brush
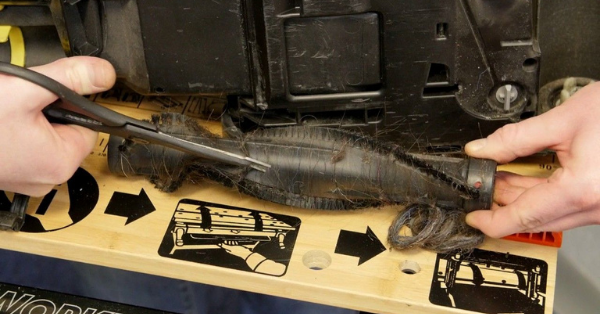
Before doing anything, make sure the vacuum is unplugged.
Now, turn the vacuum cleaner and lay it on it’s back. This way you’ll be able to see if the roller brush needs some cleaning. If so, take a pair of scissors and try to cut and pull away all the hair and debris tangled on it.
If it is still difficult to clean, you can unclip the brush to remove it. This way it’ll be easier to clean. But if you unclip it, make sure you place it correctly afterwards. If not, you will have further problems when turning the vacuum cleaner on again.
One way to check if the roller brush is well cleaned is to roll it one it’s placed back on. If it moves freely then you’re all done!
Step 5. Check the attachments
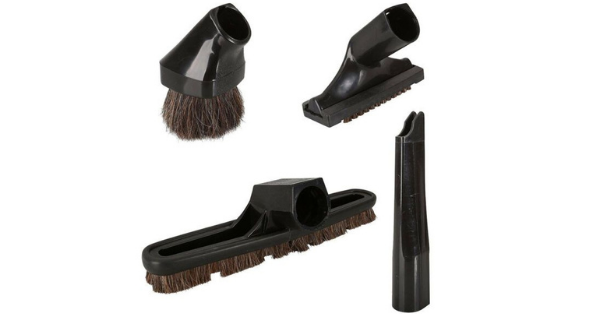
Once a month (at least) you should make sure all the attachments are in their place and clean them thoroughly with some soap and warm water. Let them dry before putting them back where they belong.
Bonus step! Mind the user manual
All the above steps apply to almost all vacuum cleaners, but each model and brand is different. So, to make sure you don’t forget anything, reviewing the user manual will come in handy.
Find out if any other parts of the vacuum should be considered as areas of interest, meaning they also need regular cleaning.
BONUS! 5 Tips to keep your Vacuum Clean
Aside from the general steps to keep your vacuum cleaner all clean, here are some tips you might find useful!
1. Always have spares for replacements. You don’t know when you’ll need to replace your filters, the bag, the drive belts, etc… That’s why you should have replacements for anything perishable in your vacuum cleaner.
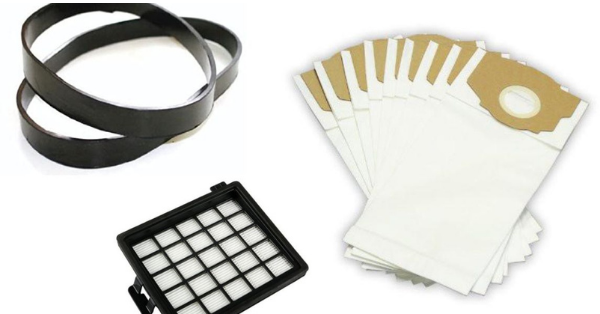
2. Keep a regular cleaning schedule of your vacuum cleaner. Don’t let a month go by without deep cleaning it if you want it to last long. Following the steps described above should help you do it in no time!
3. As I said earlier, you might need screwdrivers and the same screws used in your vacuum, as they get easily lost. When removing them, use a cup to place them inside until you need to put them back again. But having replacements also won’t hurt!
4. If you want to make your vacuum cleaner smell fresh, after cleaning the filters and canister or bag, use a deodorizer you may like.
5. Don’t start cleaning your vacuum if you’re not going to have the time or there are distractions around. The steps are pretty simple but there are lots of pieces that can get lost if you have pets or kids running and playing around.
Conclusion
Vacuum cleaners can seem difficult to maintain, but as you’ve seen, there’s not much into it, right? It just takes a few minutes to understand where the problem is, what’s causing it and how to solve it.
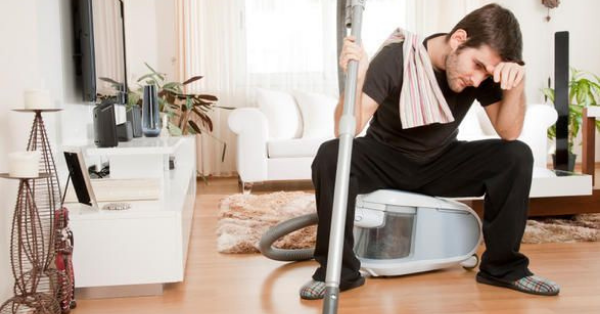
But most importantly, vacuum cleaners aren’t cheap either, so why not try to keep them clean and well-maintained to prevent all those problems? It’s just a matter of time and having a cleaning schedule.
Now it’s time to get into action!
