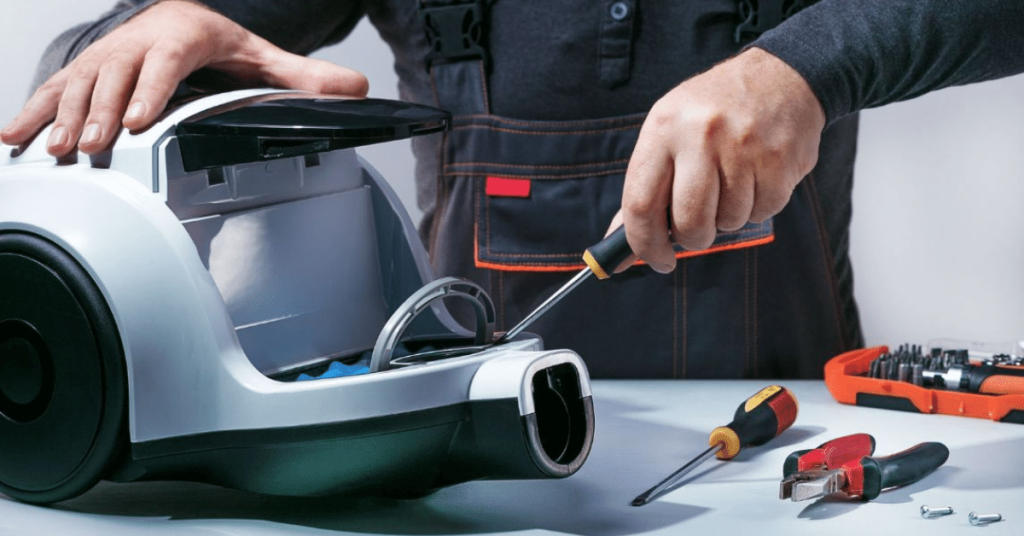
We talked on another article about the most common problems you’re vacuum cleaner could have and how to fix them. We said that all of them could be solved at home as they were pretty simple vacuum repairs…
But what about a broken belt? Can you change a vacuum belt at home? Is it easy?
Well, yeah! Changing a vacuum belt is fairly simple in most vacuum cleaners and learning how to do it can save you a lot of time and money at a repair shop!
You just need to get a new belt replacement (make sure it is the right one for your vacuum cleaner) and get started!
Why is Your Vacuum Cleaner Not Working? Top 5 Solutions!
Has your Vacuum Cleaner stopped working or is making weird noises? These are the 5 most common issues and how to fix them.
What is the purpose of a vacuum belt?
Vacuum cleaners can keep working even if they have something that’s not working right. But one of the things they can’t work with if it’s broken or damaged is the drive belt. It will instantly make your vacuum cleaner useless.
But why? What’s their purpose?
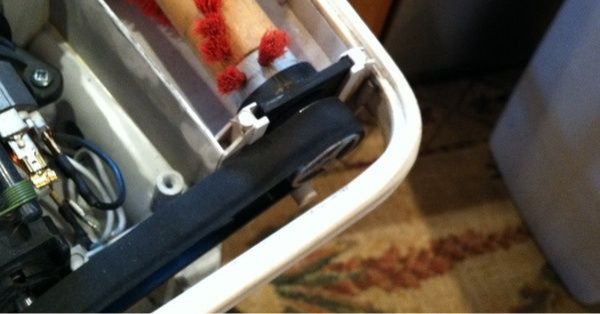
Well, easily explained… the belt, moved/turned by the motor or drive shaft, causes the brushroll to turn, and therefore, provides the needed agitation for the vacuum to clean the floors and carpets properly.
Without belts, there’s no rotation, and therefore, no cleaning at all!
What causes a vacuum belt to break?
The lifespan of a vacuum belt is around 3 months but the quality of the belts vary a lot depending on the model and brand. After that, they tend to stretch and wear out and if they’re not replaced on time, they eventually break.
Here are some reasons or possible causes for a broken belt:
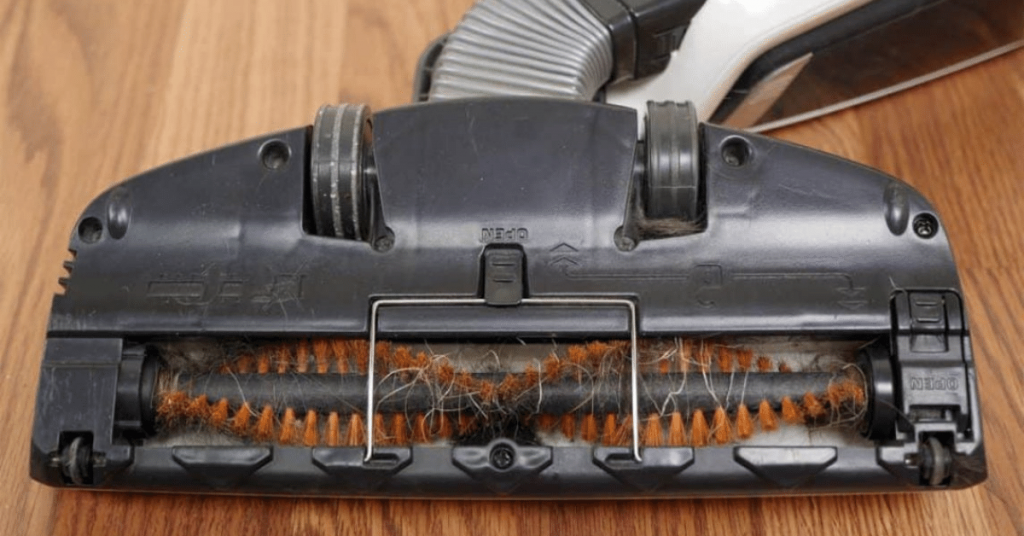
– Overload in the brushroll: if the brushroll gets too loaded with hair, dirt and debris, it’ll get more difficult for the drive belt to rotate the brushroll, and therefore, it will end up heating up and getting damaged or even broken.
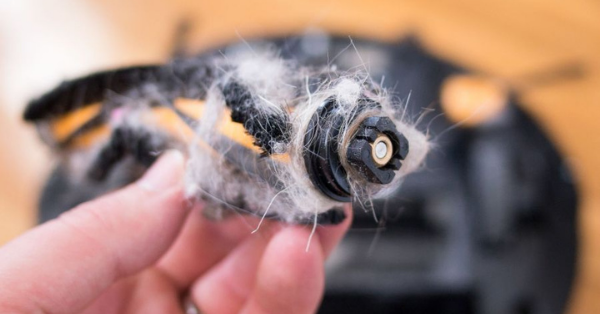
– Setting the wrong height: if the brushroll is set too low, almost touching the surface, then it’ll heat up due to the excessive friction.
– Setting a belt too tight: contrary to what a loose belt would do, a too tight or strong belt will put an excessive strain on both the motor and the brushroll. This will end up breaking one of them or both.
– Inappropriate use of the belt: using a belt that isn’t the one meant for your vacuum cleaner or not replacing it correctly are two reasons why vacuum belt break. You need to make sure you’re using the right belt for your vacuum.
How to know if a vacuum belt is broken?
There are two main things that will tell you if the vacuum belts are broken or not:
– If you hear un unusual squealing sound when you turn on your vacuum
– If the brushroll has stopped rotating and it doesn’t pick up the dirt as before
Once you’ve made sure you have a belt problem, you need to replace it immediately.
So let’s dive into it!
Tools you’ll need
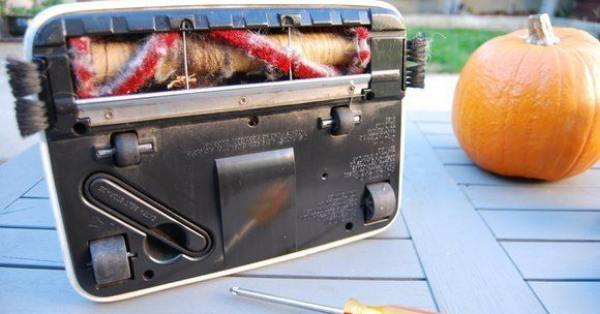
To replace a vacuum belt you might find the following tools very helpful:
– Replacement belt
– Screwdriver
– Scissors or knife
How to change a vacuum belt: Step by Step
Now that we’ve seen why you need to replace your vacuum belts and how to see if you the one you have is broken, we’re getting to the best part: replacing it!
Have in mind that each vacuum cleaner is different and the steps may differ a bit from one to another. Despite this fact, they all share similar procedures. This is a generalized guide for you to have some support and know where to go next, step by step.
Changing a vacuum belt can take less than 10 minutes. Especially when you have already done it before, so keep up the good work!
Step 1. Get everything ready!
To avoid making any mistakes make sure you prepare everything:
– Place the vacuum in an open area where nothing can get lost. You’ll probably have to get some screws out and you don’t want to lose them, trust me!
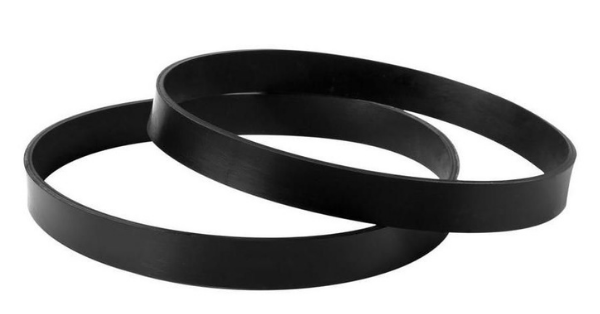
– Get all the information you need about the brand and model of your vacuum and get the right replacement belt. You can buy them on Amazon or ask the manufacturer for a new one. Don’t go for a generic one… even if it looks just the same.
Step 2. Safety first: unplug the vacuum cleaner!
Changing a vacuum belt may be easy but not fast and you don’t want your fingers to get caught on the rolling brush. So unplug it right before you start doing anything.
Once you’ve unplugged it, place it upside to leave the bottom plate exposed.
Step 3. Remove the bottom plate
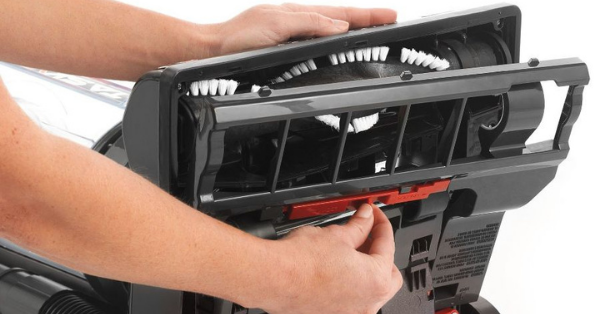
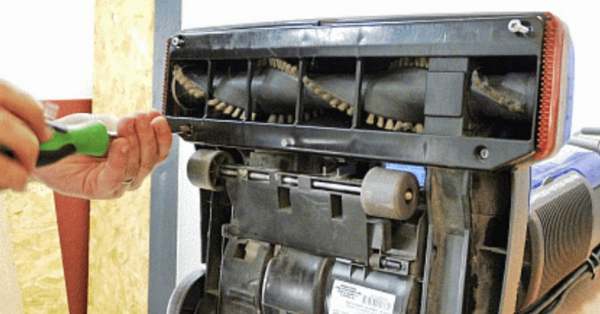
The bottom plate might be attached with screws, clips or turn-buttons. You’ll have to detach it using your fingers or a screwdriver.
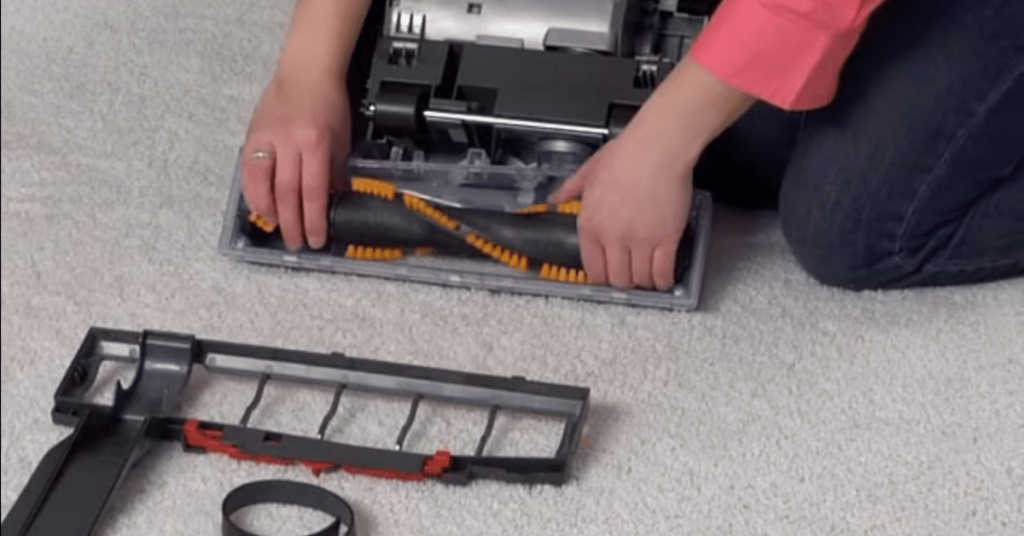
Lift it up once it’s detached. You should now be able to see the roller brush and the drive belt.
Step 4. Check the belt and brushroll
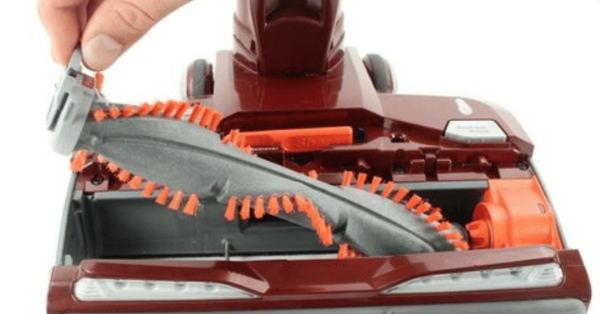
First, try to see if the vacuum belt still functions properly: it should glide over the brushroll.
PRO TIP
Before removing anything from the vacuum, take a look at how the brushroll and belt are arranged and connected together. It will give you an idea of how to proceed.
Try rotating the brushroll. If the vacuum belt is broken, you’ll see it gets loose when you try to roll it. Then, pull off the brushroll and if it has any tangled hair and debris, clean it before doing anything else.
How to Clean a Vacuum Brush? The 1 Tool You Need!
Cleaning your vacuum brush has always been a nightmare, right? Well, with this tool, I promise you, it can’t get easier!
Step 5. Pull the broken bell out
Now that you’ve made sure the vacuum belt is broken or about to break, it’s time to take it out. Just pull it out grabbing a loose end or cut it if it isn’t broken yet.
Step 6. Place the new belt!
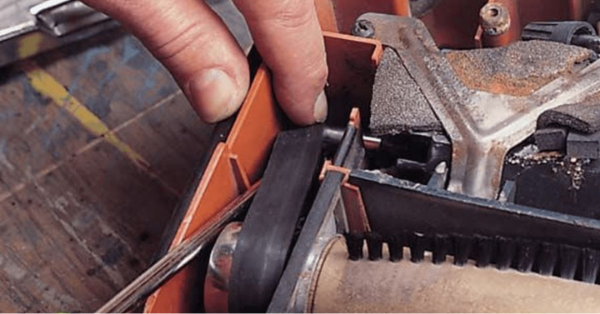
With your brushroll all clean (including the rollers!), it’s time to insert the new belt over the rollers of the brushroll and then place the brushroll back on its place.
Once you’ve placed the brushroll back on its place, check it works fine by spinning it. See if the belt tension is the correct one and that the brush rolls perfectly.
REMEMBER: The old belt will definitely look much bigger than the new belt. That’s because of all the stretching it has gone through.
Step 7. Reassemble what’s left of the vacuum
If everything works fine, then you just need to reinstall the bottom plate. Don’t forget to put all the screws back on their place.
CAUTION
If you have pieces left once you’re done, then you’ve done something wrong. Everything must be back on its place.
Now you’re ready to get back to cleaning your house!
BONUS! Tips to keep your vacuum belt safe
After all, you’ve gone through you might want to keep your vacuum belt self, right? It may be easy to replace it but once in a while is enough…
So here are some tips for you to protect your vacuum cleaner and belt from breaking again!
1. Buy the right belt and install it properly
You must make sure you’re buying a putting the right belt on your vacuum (not a generic belt!). If you don’t take this seriously, then it will probably break sooner rather than later.
Also when installing it, you have to make sure you’ve done it correctly and that it works properly, with the proper tension.
2. Keep the vacuum brushroll clean
The brushroll is one of the reasons why drive belts break. But why? Very simple: The drive belt is what makes the brushroll move, so… if the brushroll is full of tangled hair and it’s nearly impossible for it to rotate due to the huge amount of dirt and debris tangled on it, then the drive belt will have to put extra effort on making it move. And it ends up overheating…
Which leads me to the next tip…
3. Watch out for overheating
Don’t let your vacuum cleaner, and more specific, your vacuum belt overheat. To do so, avoid clogs in your vacuum by not letting large objects be sucked by it.
Conclusion
Well, that was a ride, wasn’t it?
If it was the first time doing it, you may have had some trouble finding out how to do it, but look at the bright side… you’ll be expanding your vacuum’s lifespan and you won’t have to replace any time soon!
If you found this guide useful, just save it for the next time and keep reading for more tips and how to’s on vacuum cleaners, rugs, carpets and everything that goes around them

