Are you thinking about replacing your car’s carpet? Are you looking for a step by step guide on how to do that? You came to the right place! Replacing your carpet often is recommended because of all the benefits it has. Some of those benefits include: regulation of the car temperature, insulation to noise, aesthetics value, and a concealing for the bare metal covering of a car floor pan; hiding the metal bolts and holes.
It also add aesthetic value to a car, giving it a much more preferable look and feel. Depending on your choice, carpets come in various colors and you can always find a car carpet to compliment the color of your car’s interior.
Replacing an old carpet or cutting out a damaged section of the carpet is more cost effective and easier than fixing a scratched-up metal floor plan. So replace it before it’s too late!
You can carpet a car in just a couple of steps that include: removing the seats and carpet, using the old carpet as a guide, cutting the carpet to fit the old one, gluing the underlay, spraying contact adhesive and cutting the loose ends. If you want to know how to do it properly, keep reading!
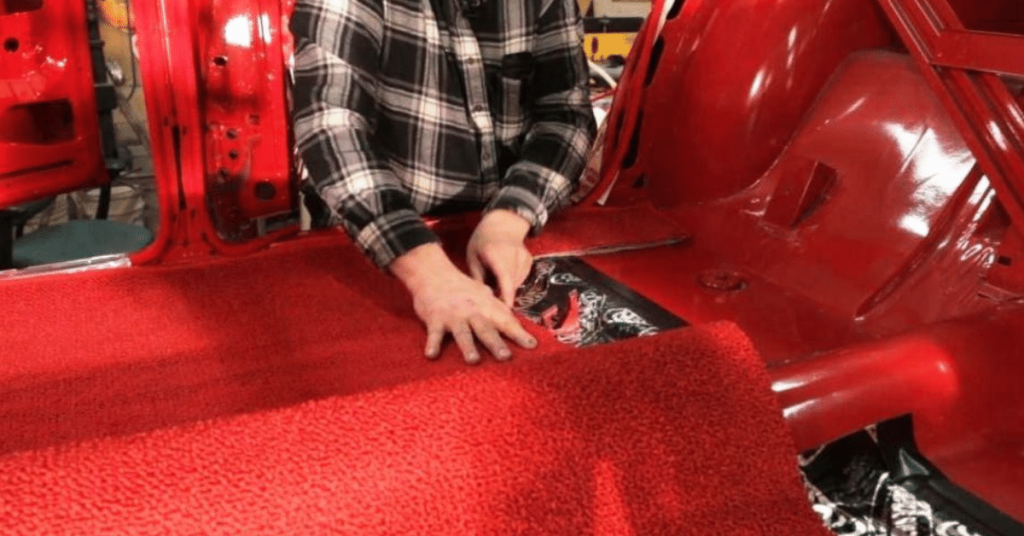
Car carpet installation can seem like a very overwhelming task, but when done with the right tools, it is pretty much a very enjoyable task.
TYPES OF CAR CARPETS
There are 2 main types of car carpets you should know about. Let’s take a look at them separately.
Cut and Sewn Carpets
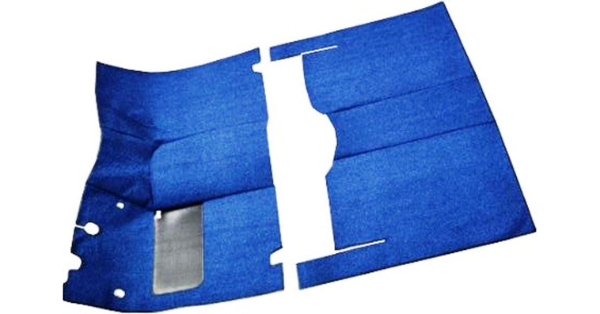
These types of carpets were usually found in vehicles before the year 1960. They were cut using CNC equipments for a precise fit and were made from vinyl. They were usually light and their padding was thinner compared to the present day carpets.
Molded Carpets
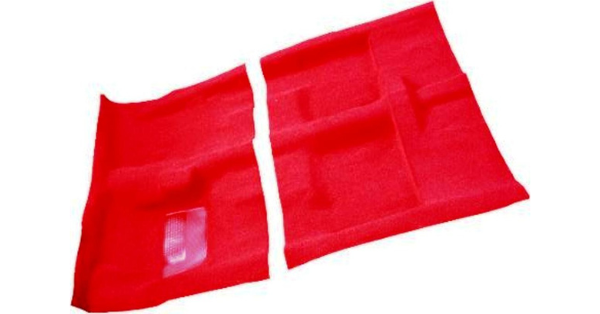
Molded carpets are the current types of carpet used in cars designed after year 1960. Just like the name implies, they are molded to fit the contours of the car floor pan in its entirety, although you may need to do some trimming to achieve this. Some manufacturers of these carpets include optional items like tail gate pieces, kick panels, wheel wells and door panels.
They are the best choice for noise and heat control, plus their aesthetic value is higher than the preceding cut and sewn carpets. They are called molded carpets because they are molded perfectly to the floor pans of a car, lining its every inch so that it is molded perfectly to the floor pans in a car, so that there are no loose-fitting sections of carpet on the floor.
ITEMS YOU WILL NEED
To install a new carpet or replace an existing old carpet, you may need all the materials listed below.
– Carpet
– Vacuum
– Masking tape
– Glue gun
– Upholstery steamer
– Masking tape
– Masking paper
– Quality spray contact adhesive
– Razor blades or pen knife
– Pair of Scissors
– Chalk
– Tape measure
– Paint Brush
Carpet Car Installation Step by Step Guide
Car carpet installation can seem like a very overwhelming task, but when done with the right tools, it is pretty much a very enjoyable task. It all boils down to precision if you intend to achieve an impressive result. The following steps will guide you through the process of car carpet installation.
Step 1: Remove Seats and Fittings
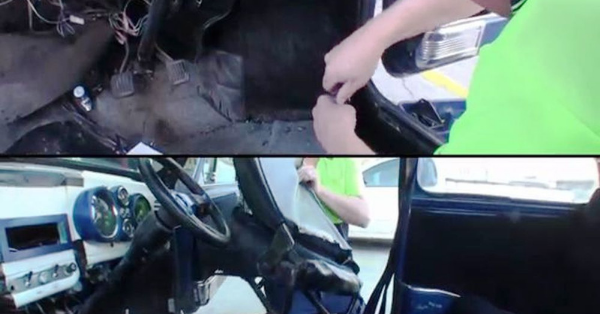
The first thing you will want to do is to remove all the fittings in the interior to allow for easy removal of the old carpet. These include the door seal plates, seat belts, seats, gear stick panel, and every other accessory attached to the car floor pan.
Step 2: Remove And Keep Old Carpet
Pull out the old carpet carefully so that it isn’t slashed at any point but do not dispose of it after removal. The carpet has the dimension and measurements needed for the accurate installation of the new carpet.
If there is no pre-existing car carpet in your car, all you have to do is measure the length and width of the interior using a tape measure and ensure to add a few extra two inches as a provision for installation errors.
Step 3: Clean The Interior Of The Car
It is imperative that the floor is clean and free of any form of dirt before installing any type of carpet.
With a vacuum cleaner, get rid of every piece of dirt on the floor pan of the car. Scrape off sticky residues left behind from the old carpet and ensure to brush off any other debris which may interfere with the adhesive spray.
You don’t want to have any part of your rug sticking out as a result of not being properly glued to the car floor. This will definitely occur if dirt is left on the floor pan before the glue is applied. Therefore, ensure that the floor pan is squeaky clean before continuing the car installation process.
Step 4: Use Old Carpet As A Guide
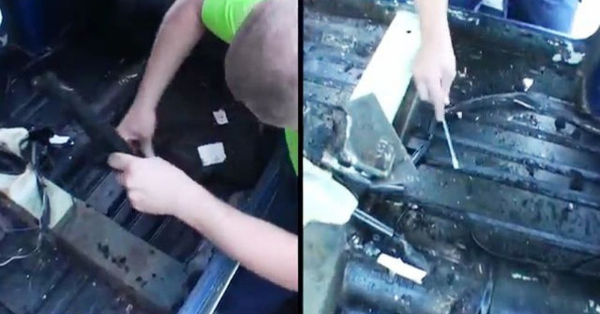
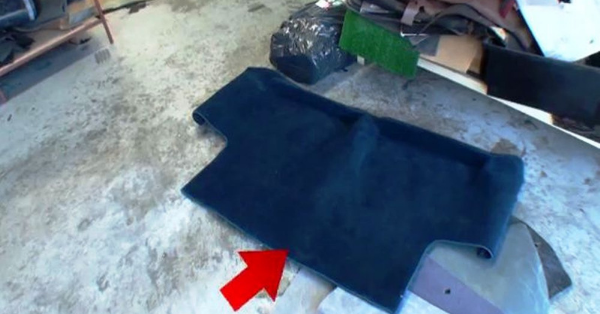
In the case that there was a carpet in the car, the old carpet will be used as a template, making things easier. Place the old carpet on the new one, and mark its dimension using a chalk.
Also, mark out any holes and additional caveats on the new rug as seen in the old one. Remember not to cut out or trim yet, just do the markings. After this is done, you can then choose to toss your old carpet.
Step 5: Glue the Underlay (Optional)
The underlay is the padding between the carpet and the metal floor pan. They are typically made of mass backing or poly backing and although they both play the same role, the former is thicker that the latter and has a consistency like rubber. Cut the underlay to the exact dimension of your carpet. Flip the carpet over so that bottom of the carpet faces up and then apply the spray contact adhesive on its surface using the glue gun or a paint brush.
Repeat the procedure for the underlay and leave both the carpet and underlay exposed to air for about 5–10 minutes. It is now time to press them together to stick.
Attaching an underlay is not necessarily compulsory, but it has its own benefits. It makes the car carpet thicker than usual, which also will result in better noise and heat reduction.
Step 6: Cut the Carpet to Fit
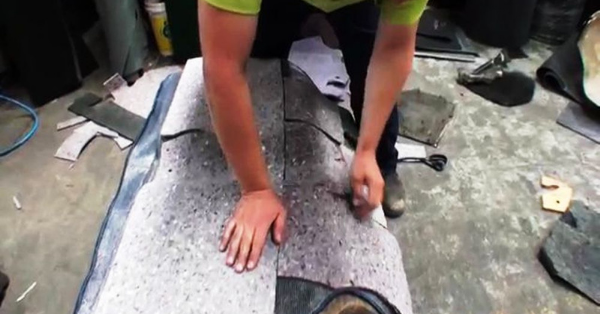
At this point, you are ready to lay your carpet. With scissors or a penknife, cut the carpet along the perimeter of the interior as earlier measured using the markings as a guide. Ensure to carve out the holes for the seat belts and bolts with a razor blade. This includes areas around the transmission hump, seat belts, kick panels and every other caveats and allowances.
Step 7: Spray Contact Adhesive on Car floor
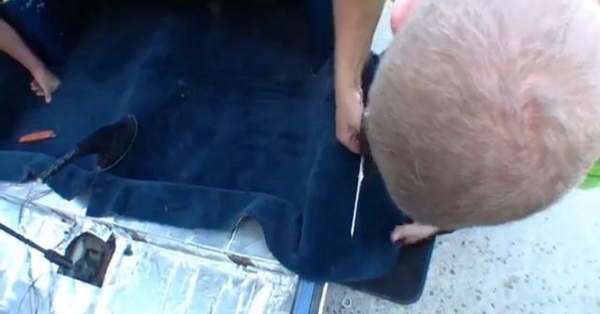
You may need to mask off the dashboard and door jambs to avoid hitting them or any painted parts with any glue overspray. This should be done using a masking paper and a masking tape as they can be easily removed upon completion of the spraying process.
Cover the delicate parts with the masking paper and seal it into place with masking tape so that it doesn’t fall off while spaying the contact adhesive glue. Upon completion of the spaying process, you can either choose to roll off the masking tape or leave it on till the carpet installation process is completed.

Step 8: Place New Carpet In Position
Sometimes car carpets are divided into front carpet and rear carpet. Other times, it is just one single mass of thick fabric covering. Whichever one is the case, there is a provision for installing the carpet.
If the carpet is divided into front and rear carpet: Start with laying the rear carpet, ensuring that you start from centering it on the tunnel and working towards the sides. You can then follow suit with the front carpet, replicating same steps in installing the rear carpet but also ensuring that the front carpet overlaps the rear carpet.
If the carpet is just one piece: All you have to do is start from the center and work your way towards the sides, cutting the required holes as you lay the carpet unto the floor pan.
Step 9: Glue the Carpet
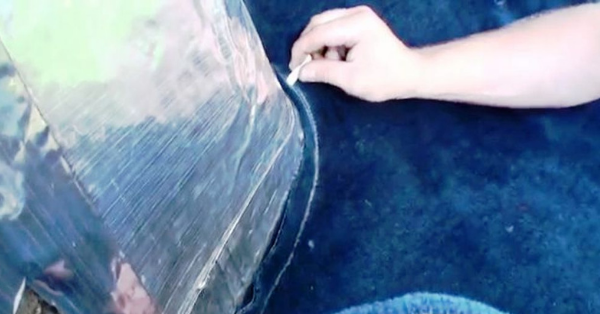
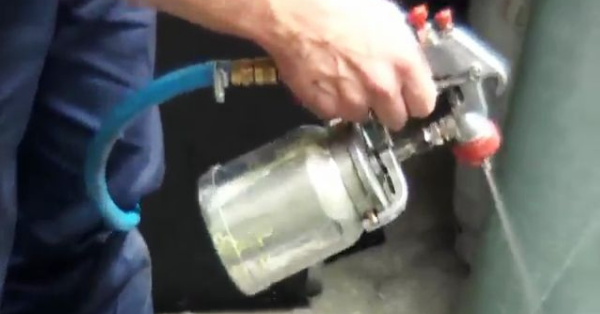
After placing the carpet to satisfaction, the next step to take is to glue the carpet to the floor. Pull back one side of the carpet and judiciously spray the contact adhesive to the bottom of the rolled up carpet and also to the floor underneath using the glue gun. Ensure that the applied adhesive has dried before setting down the carpet; this should be in approximately 3 to 5 minutes.
PRO TIP
TAKE NOTE
Ensure that every piece of dirt from the old rug, underlay and other residues are scraped off before applying the glue
After the adhesive has dried, press down the side of the carpet unto the floor of your car, starting from the centre and working towards the sides. Repeat the same procedure for the other side of the carpet and ensure that the carpet contours are a perfect match with the floor.
WARNING
GLUE OVERSPRAY
You may need to mask off the dashboard and door jambs to avoid hitting them or any painted parts with any glue over spray
Step 10: Seal it up with an Upholstery Steamer
Make use of the upholstery steamer in areas where the carpet doesn’t contour to the interior. Example of such areas could be the firewall or the transmission hump. Using the upholstery steamer will help to relax the carpet and allow a perfect contouring to the interior as you give it a light push.
If necessary, you may also decide to put relief cuts on the carpet.

Step 11: Cut out Loose Ends
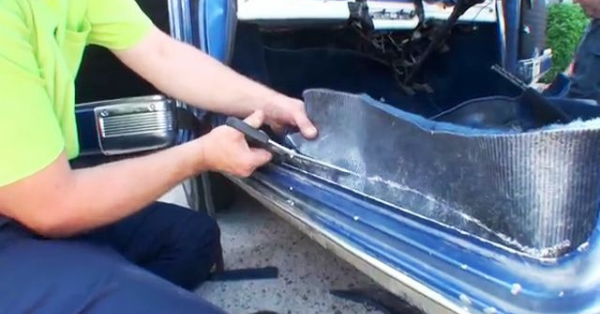
When all the installation process is complete, and the carpet has been laid satisfactorily without hitches, it is now time to cut out every loose end. Start off by trimming out all the excess carpet at the sides but make sure not to overdo it so it does not appear shorter than your car’s floor dimension.
Step 12: Replace Seats and other fittings
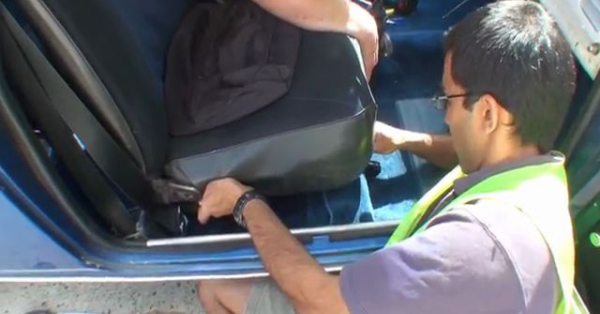
Begin with the back seats, and then progress to the front seats. Ensure the bolts are adequately screwed in to avoid unnecessary movement or rocking of the seats Replace the seat belt bolts, kick panels, door seal plates, and every other item removed from the interior. If this is done accordingly, you will have your car looking new again. This step marks the end of the carpet installation process.
V. CONCLUSION
Anybody can install a carpet, even you, as long as you have the right tools and a detailed guide like this to help you through the process. Make sure to take note of the positions of the items removed so that it does not become confusing to you when replacing them. You may become excited during this process but ensure not to skip any of the steps and you are guaranteed a perfect job upon completion
And remember that if you want to save yourself the troubles and rather find a professional to help you out with your carpet installation, we have a post right for you! ( click here)
